Sergey Nivens - Fotolia
Follow a Kubernetes and Go tutorial in your home lab
Learn how to use the Kubernetes Go client, dep for dependency management and other capabilities for Kubernetes and Go in this home lab exercise on Minikube.

Kubernetes and Go represent the cutting edge of IT operations and application support. While they might not crop up in most business-critical production environments this year, these technologies are exemplary projects to run in a home lab. This Kubernetes and Go tutorial demonstrates how to set up a Kubernetes cluster on a local machine and write Go code to work with it.
This tutorial introduces the Kubernetes Go client API. Minikube, which runs a lightweight VM-based Kubernetes deployment on a local machine, will host a cluster managed with kubectl and the Kubernetes Go client. To finish this Kubernetes and Go tutorial, you'll write a simple Go program to understand how to use the client-go API.
Minikube works for home labs because the user can easily run Kubernetes in a VM and get a working cluster on a laptop or other device. It creates Kubernetes pods, which are the unit of abstraction by which Kubernetes scales and manages application containers.
The installation requires a VM, provided in this Go tutorial by Oracle VM VirtualBox, installed on a local machine and not a VM. A second option is paravirtualization. You cannot run virtualization on top of virtualization with all products, but don't be afraid to experiment with Minikube in the home lab.
Install Go
First, install Minikube and kubectl. Then, on Ubuntu, run sudo apt-get install golang-go to install Go.
Go installs into GOPATH, which, by default, is at /home/(userid)/go.
Edit .bashrc to complete the Go installation:
export GOPATH=/home/walker/go
export PATH=$PATH:$(go env GOPATH)/bin
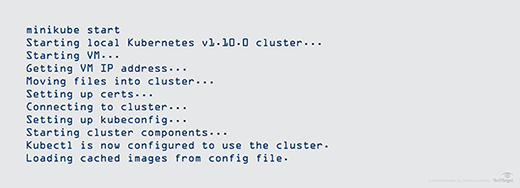
Start Minikube with the command minikube start (see Figure 1).
Install dep
The Kubernetes Go client is here, but do not download it in its entirety; this tutorial instead picks out needed portions of it with dep. Dep is a dependency management tool for Go code, available on GitHub.
Once you install the dep tool, enter go get k8s.io/client-go/… to download the Kubernetes Go client to $GOPATH.
Navigate to the go/src folder, and create a new project -- here, we call it kubernetes -- using dep init (project name).
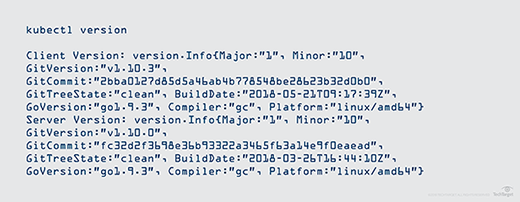
To follow this Go tutorial, get the Kubernetes version as shown in Figure 2 next to GoVersion. I downloaded the Go client 7. Check which version is current on the Kubernetes Go client's dependency matrix.
Navigate to the kubernetes folder with cd, and then edit Gopkg.toml to replace its contents with dependency instructions to dep, as shown in the code below:
[[constraint]]
name = "k8s.io/api"
version = "kubernetes-1.9.3"
[[constraint]]
name = "k8s.io/apimachinery"
version = "kubernetes-1.9.3"
[[constraint]]
name = "k8s.io/client-go"
version = "7.0.0"
Create a source code file for the main program; mine is d.go. Compile it with go build. There are no required arguments. The result is an executable file to run (./kubernetes), which will be the same as the folder name.
Go code for the tutorial, explained
The complete code for this tutorial on Kubernetes and Go is below for your use, but first, examine the function and information in each section.
First, there are the usual imports and package name.

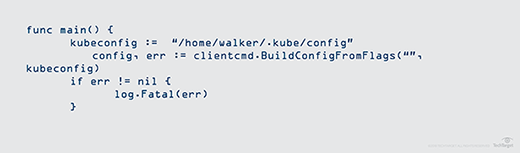
This next section of code reads the Kubernetes configuration file from /home/walker/.kube/config. You are encouraged to look at that briefly. This tutorial uses the clientcmd API to build the client.
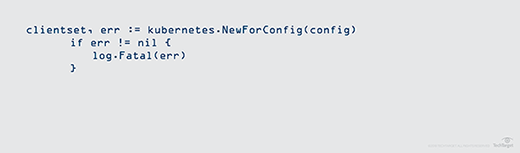
Then, create a clientset, which enables you to use the APIs derived from the last set.
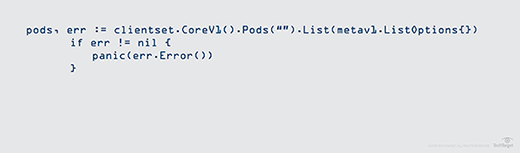
Next, retrieve a list of Kubernetes pods. Use the Kubernetes API directly for that step and not the Go client. Kubernetes is written in the Go language, so it is fairly easy to use its APIs natively when you learn Go. There's no need for a loosely coupled web service.
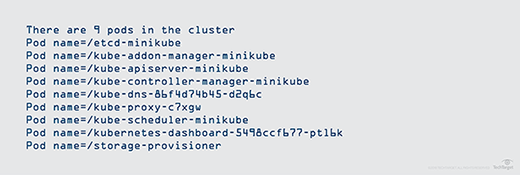
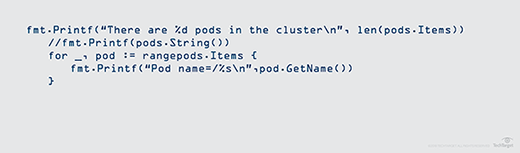
In the code snippet below, pods.Items is an iterable item. It will loop through each and print out the names of each pod (see Figure 3).
Each of these sections combines into the complete code necessary for this tutorial, which you can now run.
package main
import (
"k8s.io/client-go/tools/clientcmd"
"k8s.io/client-go/kubernetes"
"log"
"fmt"
metav1 "k8s.io/apimachinery/pkg/apis/meta/v1"
)
func main() {
kubeconfig := "/home/walker/.kube/config"
config, err := clientcmd.BuildConfigFromFlags("", kubeconfig)
if err != nil {
log.Fatal(err)
}
clientset, err := kubernetes.NewForConfig(config)
if err != nil {
log.Fatal(err)
}
pods, err := clientset.CoreV1().Pods("").List(metav1.ListOptions{})
if err != nil {
panic(err.Error())
}
fmt.Printf("There are %d pods in the cluster\n", len(pods.Items))
//fmt.Printf(pods.String())
for _, pod := range pods.Items {
fmt.Printf("Pod name=/%s\n",pod.GetName())
}
}
The name of the executable is the name of the folder:
cd /home/walker/go/src/kubernetes
go build
./kubernetes